 United Kingdom Partner Network | Save 40% Sitewide — Use Code SMILE40 at Checkout
Take Impressions Step Two Lower
Step 2 Lower Impression
Take Your Lower Teeth Impression
Please read all instructions and watch the video before beginning. This step must be completed quickly and correctly to ensure an accurate impression.
Before You Begin
Make sure the putty is no warmer than room temperature before mixing. If it is too warm, it will harden too quickly.
Taking Your Lower
Impression
Step by Step Instructions
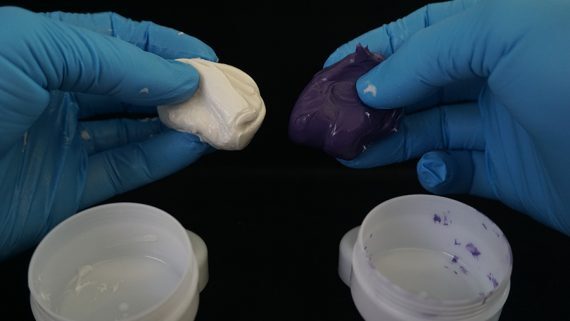
1. Take one purple putty and one white putty from the container.
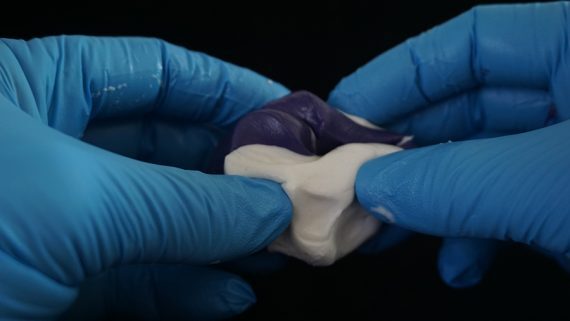
2. Mix the purple and white putty together using your fingers until it becomes a solid purple color. This should take no more than 40 seconds.
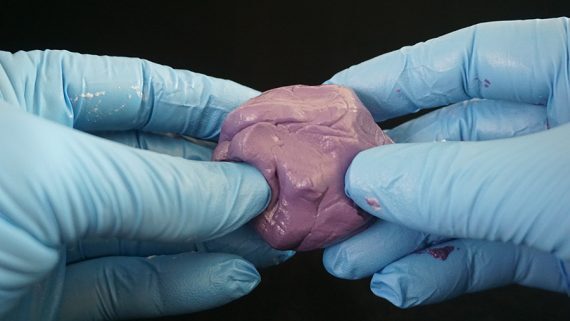
3. Stop mixing as soon as the putty becomes a solid purple with no white remaining. Over mixing will cause it to harden too quickly.
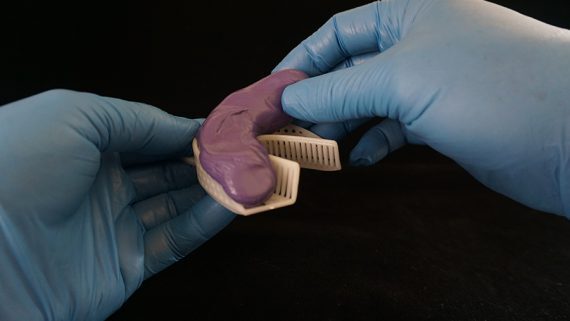
4. Roll the mixed putty into a log shape and place it into the impression tray.
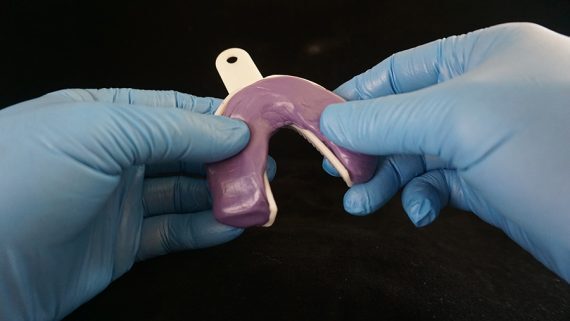
5. Use your thumbs to spread the putty evenly throughout the tray.
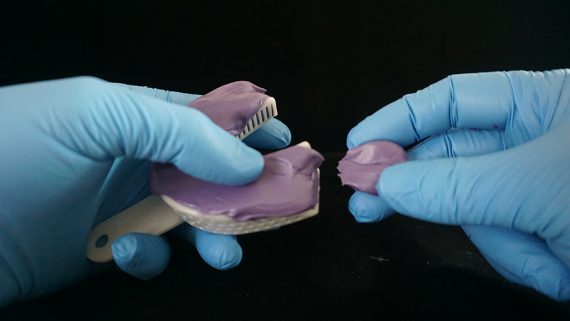
6. If you are using the small lower tray, pinch off any excess putty that extends beyond the tray.
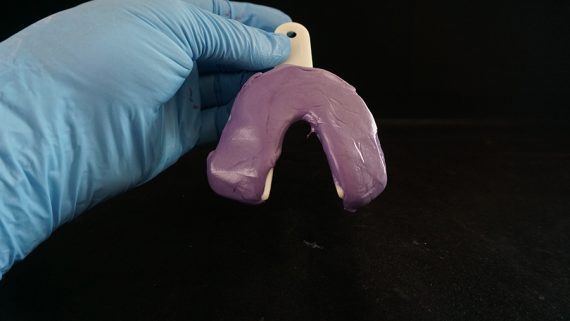
7. Make sure the putty fills the tray completely from edge to edge.
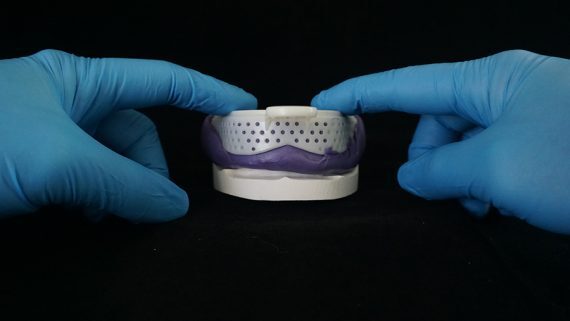
8. Insert the tray into your mouth and center it over your lower teeth.
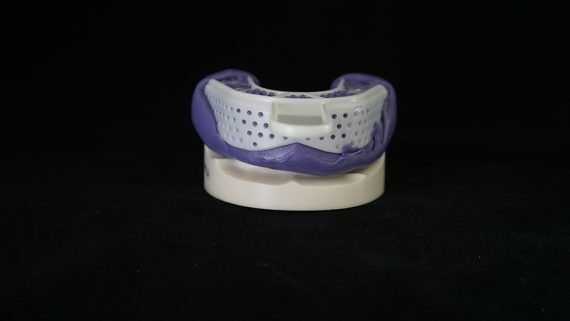
9. Using both index fingers, push straight down evenly until your teeth touch the bottom of the tray. Make sure your teeth go deep into the putty.
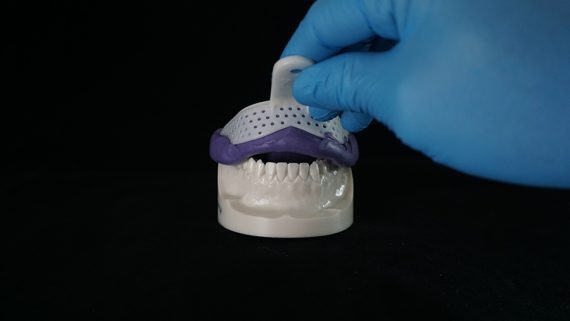
10. Keep the tray in place for a full 5 minutes to allow the putty to fully harden. Removing it too early will distort the impression and affect the fit of your appliance.
What a Good Impression Looks Like
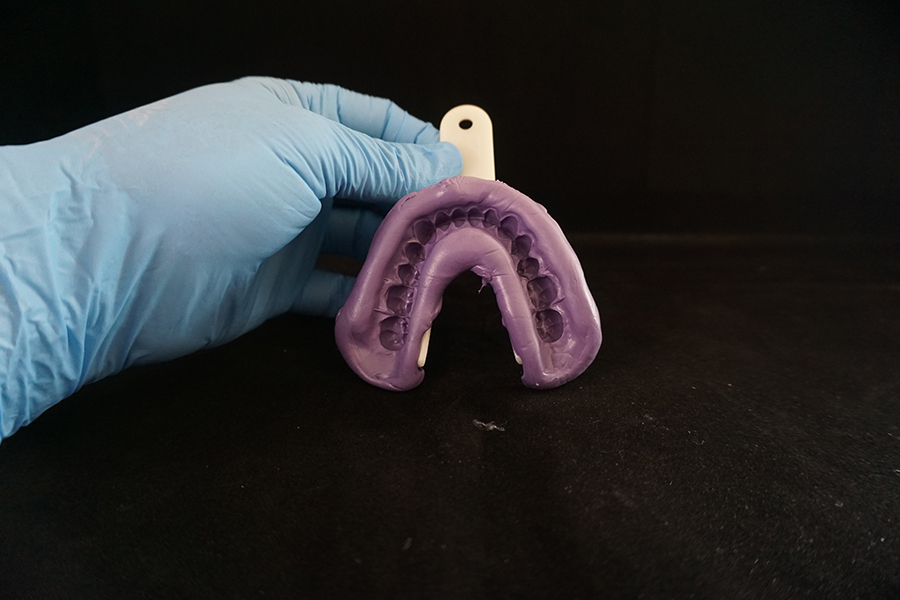
Your teeth should be centered in the tray and not too close to the edges.
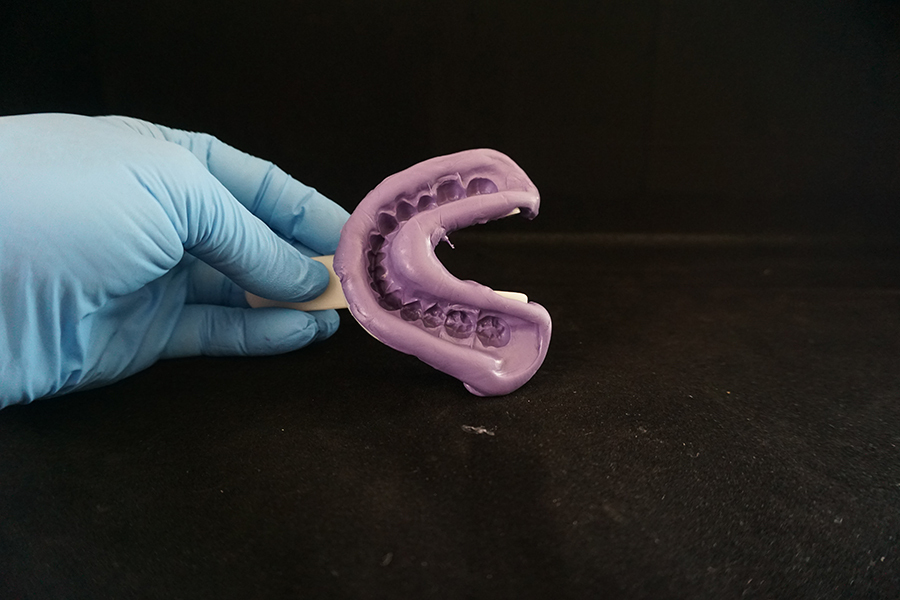
Your teeth should be deep in the putty and nearly touching the bottom of the tray.
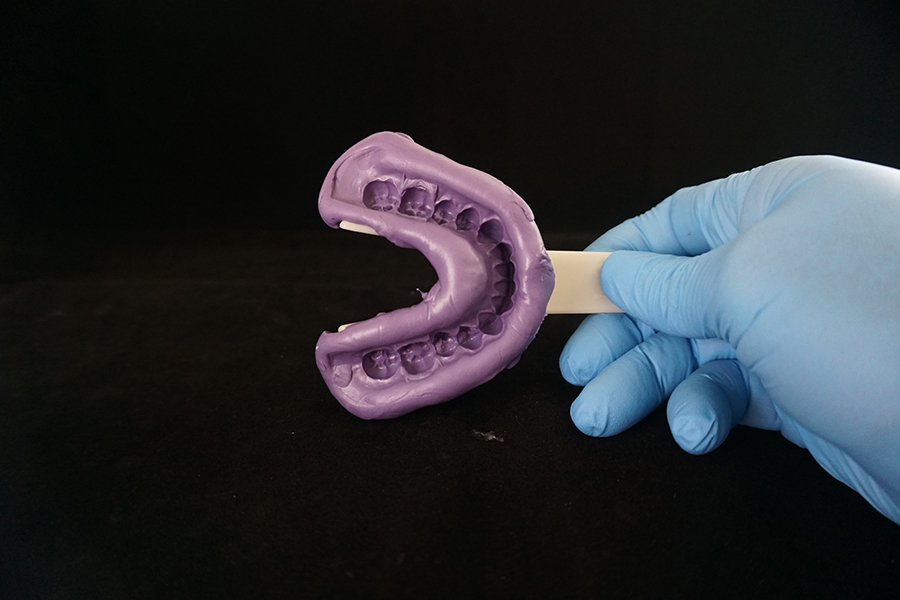
The putty should extend to capture your gums. This occurs when your teeth are pressed deeply into the tray.