 United Kingdom Partner Network | Save 40% Sitewide — Use Code SMILE40 at Checkout
Take Impressions- Step One- Lower
Step 1 Lower Impression
Choose Your Tray Size
This step will guide you in selecting the correct tray size for your lower teeth and preparing your trays for use.
Sterilize Your Impression Trays
The impression trays are not sterilized and must be cleaned before use. Follow these steps to properly sterilize your trays.
- Rinse all impression trays thoroughly.
- Brush each impression tray for 2 minutes using toothpaste and a toothbrush, just as you would brush your teeth.
- Rinse the impression trays thoroughly with water.
- Mix liquid dish soap into a cup or bowl of water and submerge the trays for 15 minutes using a timer.
- After 15 minutes, remove the trays and rinse thoroughly with water.
Selecting the Best Size
of Tray
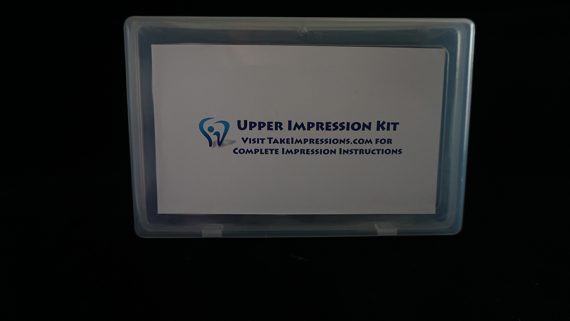
Important Before You Begin. The impression putty included in your kit should be no warmer than room temperature when used. If it is too warm, it will harden too quickly. Be mindful of where the putty is stored.
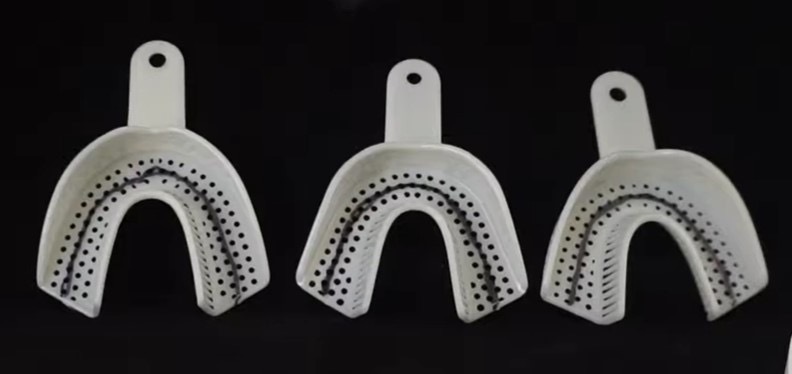
What You Will Use. Your impression kit includes several items, but for this step you will only need the three lower impression trays.
How to Choose the Correct Tray Size. Select the tray that allows the outer edges of your teeth to align with the black guideline inside the tray. Your teeth should not touch the edges of the tray and there should be space between your teeth and the tray walls.
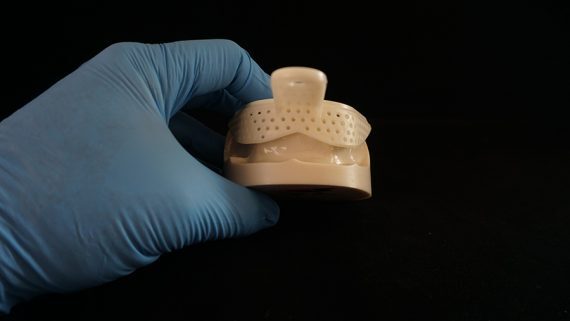
Using a mirror, try each tray over your lower teeth. Choose the tray that provides the best fit with proper spacing and alignment to the guideline.
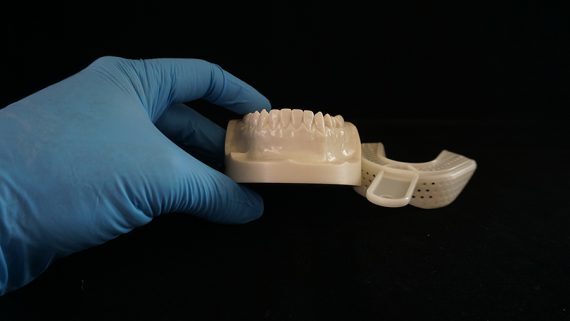
Once you have selected the correct tray size, set the other trays aside and continue to Step 2.